How To Remove Redness From Face In Photoshop
The Easiest Way to Fix Red Patches on Skin with Photoshop in Just One Minute! Using the power of Hue/Saturation Adjustment, learn how to selectively target and manipulate skin tones. Hope this ...
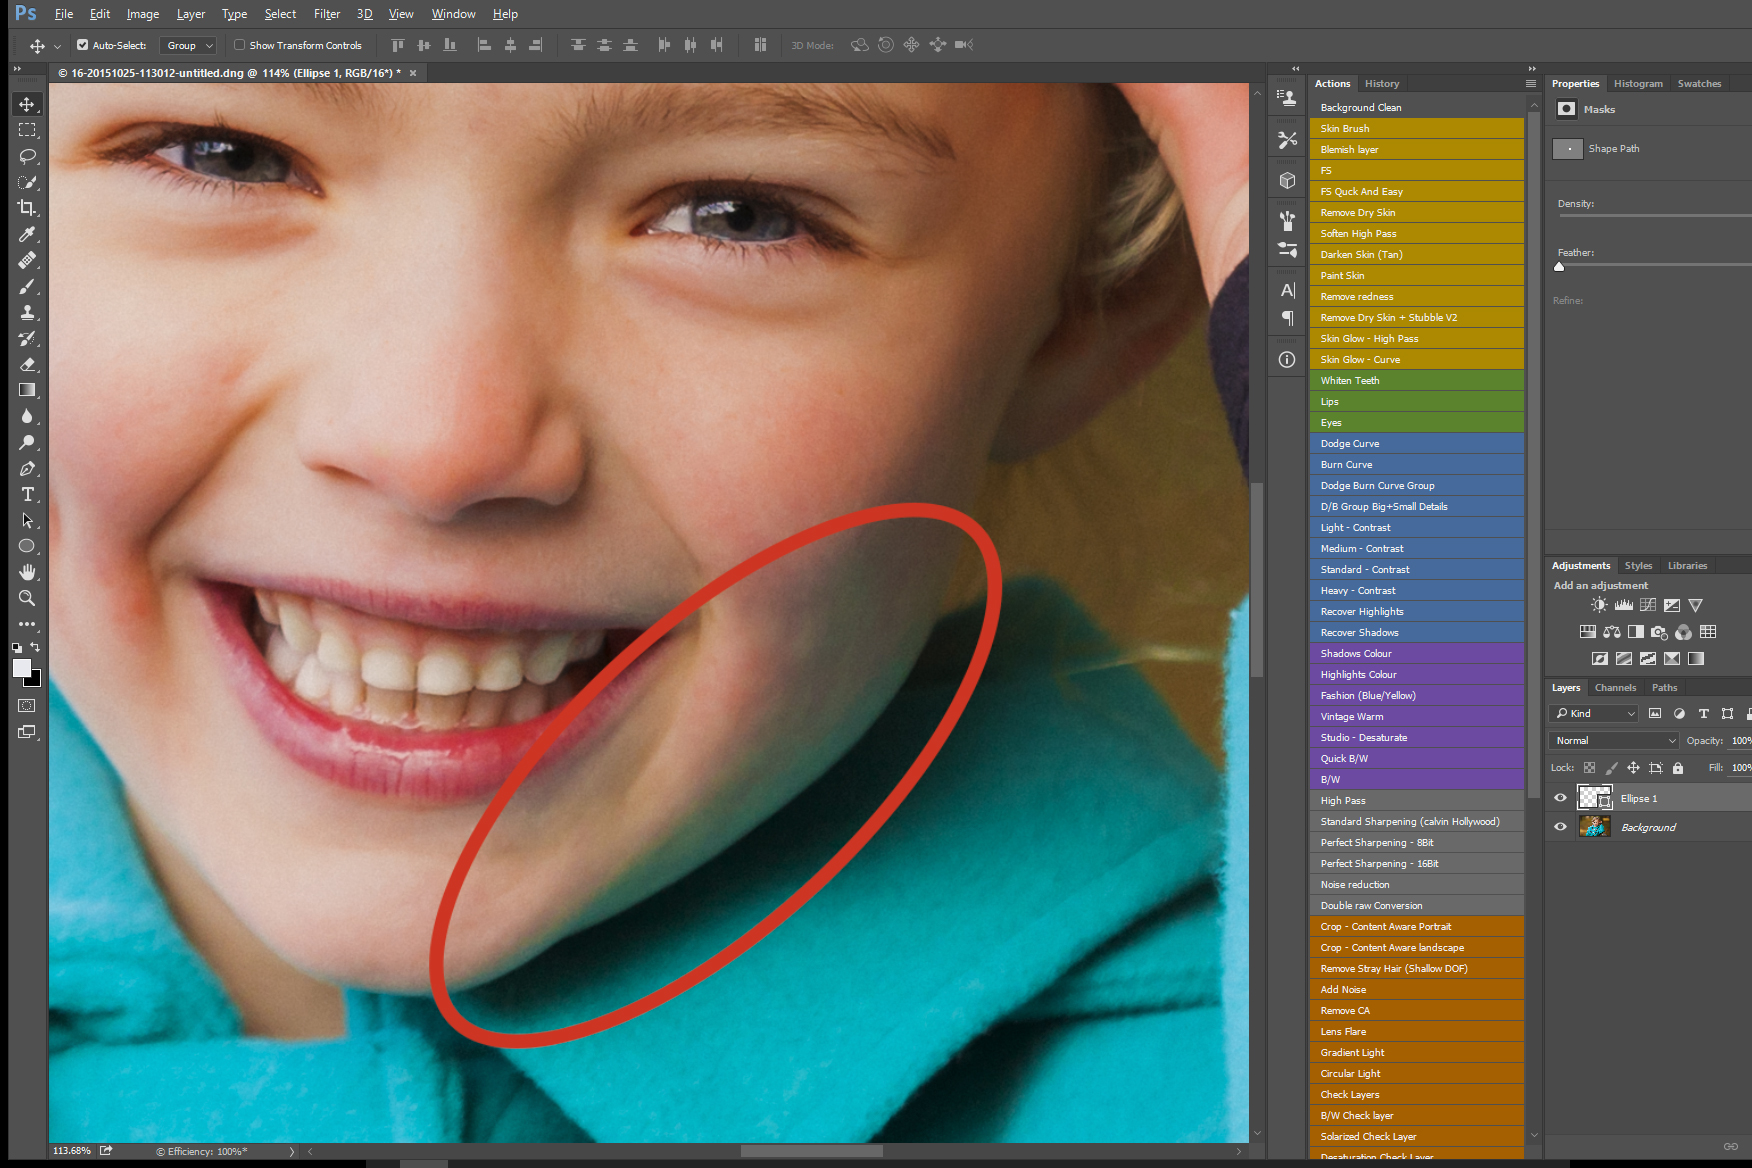
Start by pressing Control+J on your keyboard (or Command+J on a Mac) to select the background and duplicate it to a new layer. Then, select the Spot Healing.
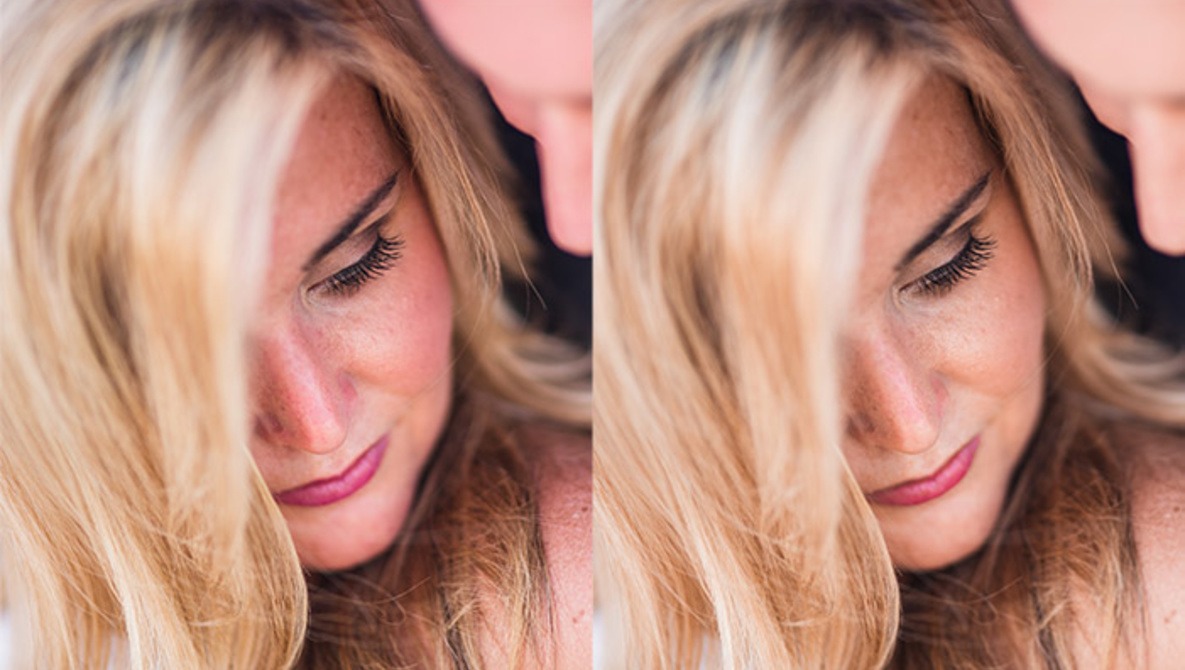
It’s easy to reduce redness on skin and specifically on the face. In this easy Photoshop tutorial video, I’ll show you how to quickly and easily remove blotchy red.
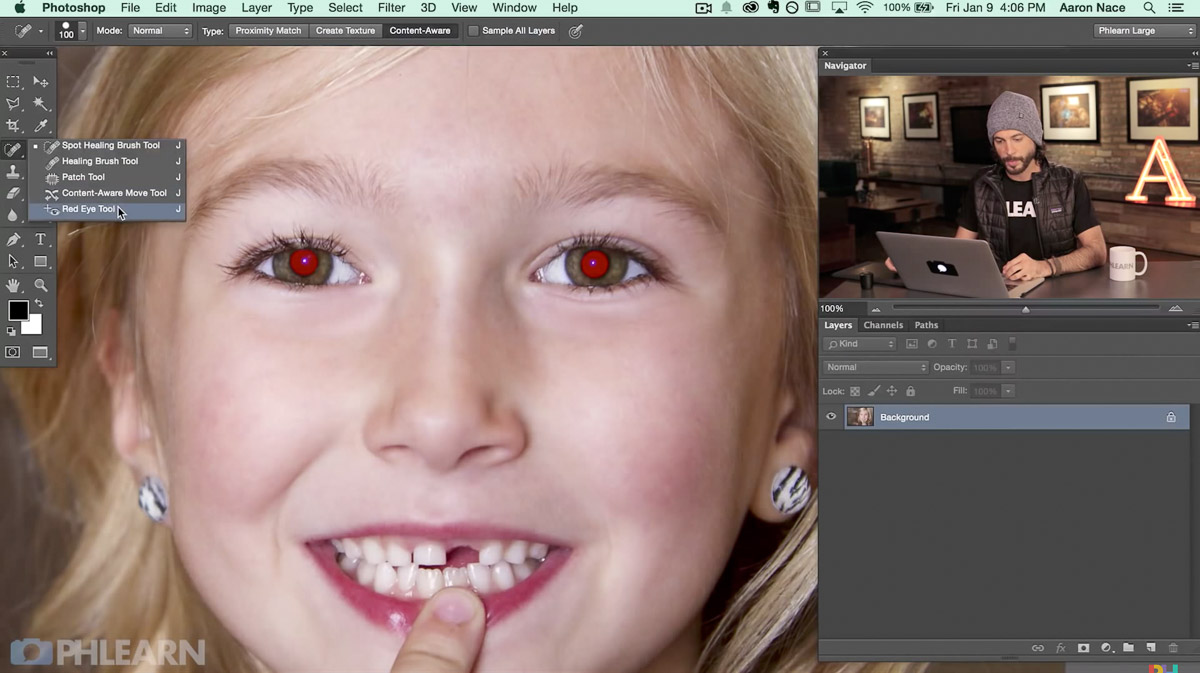
Remove red eye and retouch skin. (Photoshop Elements 13) Learn how to quickly correct "red eye" that is common photos taken with a flash. Also, learn how to remove wrinkles.
Step 1: Set up your layers In your Layers panel, duplicate your Background layer and rename it to "redness correction." To duplicate a layer, right-click (CTRL+Click on a Mac).
You can do it by pressing Ctrl + I (Cmd + I on Mac). This brings back the red to the face.
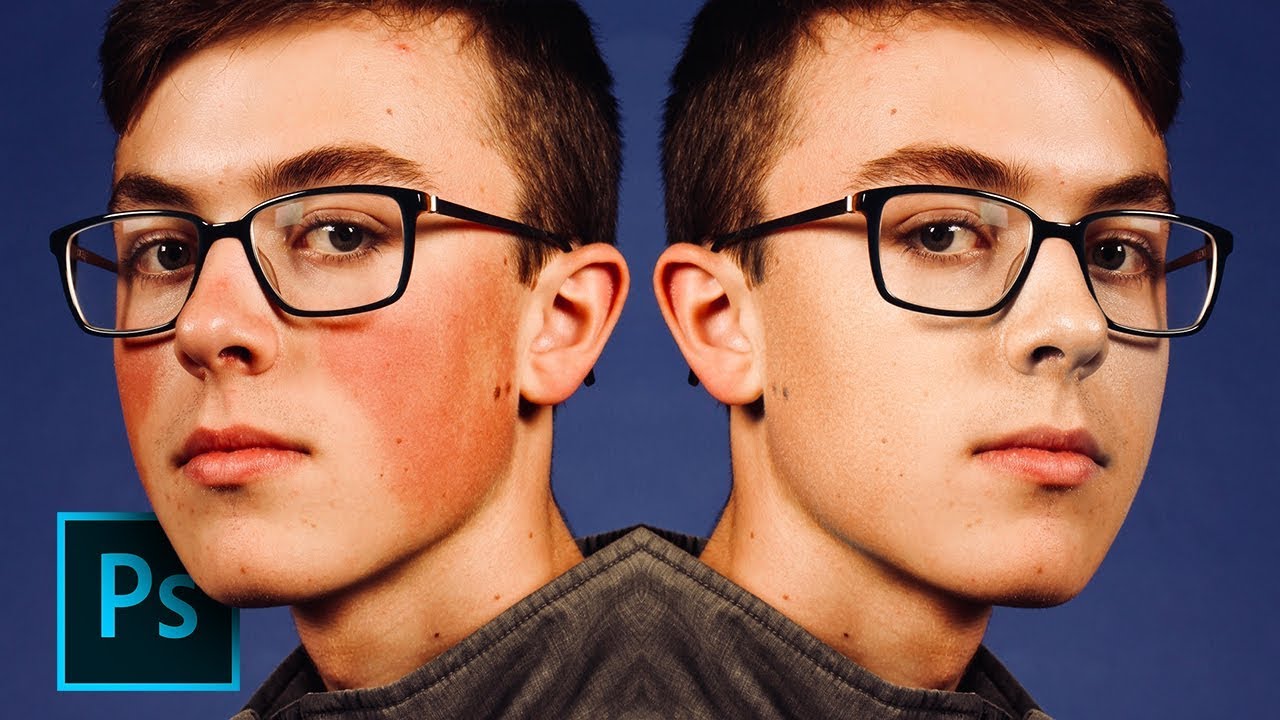
Watch on. Sometimes when you take a portrait of someone, you’ll notice that parts of the skin have a bit more redness than others. It’s easy to reduce redness on skin.
Subscribe 1.7K views 1 year ago In this short Tutorial we will remove Red Blemishes Quick and Easy in Photoshop 2021 #photoshoptutorial #photoshoppingdk #pierrienevoldsen.
Any defect will be removed. Send your photos and enjoy beautiful and shining pictures. Even out the complexion in the photo. Face correction in the photo online. Face.
Removing Redness in The Face in Photoshop or Elements with DSP www.dsiskphotography.com/shop.
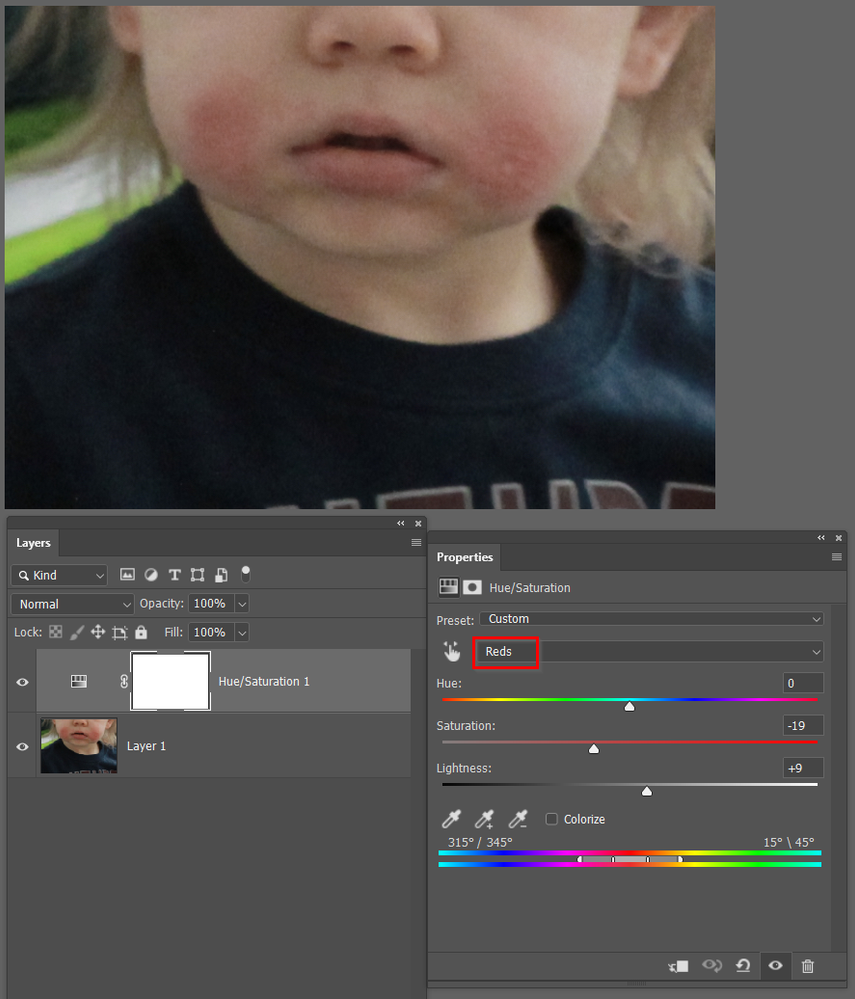
Dragging the slider left or right will reveal the area that is most affected. This is your target area for correction. Bring the saturation back down to zero. You only boosted it to.
10 Share 2.6K views 2 years ago NEWTON A colleague of mine was having trouble removing the red from her client headshot images. I created this video to walk her.
Click the Gray Eyedropper (the middle Eyedropper icon) in the Properties panel. Click on something in the image that should be gray. If there isn’t anything that should be gray,.
Choose a normal flesh tone within the image. Widen the canvas and add that tone as a flat color patch of about half or a quarter of the image size. Choose.
So, click on the layer mask and hit Ctrl/Cmd + I to invert it. Finally, grab the Brush tool, set the foreground color to white, and simply paint over the red areas that you.
Take out the red pigments from skin or face in Photoshop. In this video, we are going to use selective Hue/Saturation Adjustment Layer to first make a selection and.
Usually I'll first go Image/Adjustments/Color Balance and use the slider with the top slider with Cyan on the left and Red on the right and slide it to the left a bit thus removing.
1-Minute Photoshop - Remove Red Patches from Skin - YouTube


Vous pourriez aussi aimer
- Saotome Shimai Wa Manga No Tame Nara
- The Druid Of Seoul Station Manga
- Losing Money To Be A Tycoon Chapter 1
- Vmc Salle De Bain Sans Fil
- Danger école Page De Garde Cahier
- Roses And Champagne Chapter 62
- Présentation Cahier D allemand
- Fiche Page De Garde Cahier Arts Visuels
- Page De Garde Petit Cahier De Vie
- Mobile Suit Gundam The Witch From Mercury Manga Chapter 1
- To Love Ru Episode 1 English Sub
- Page De Garde Espagnol 3e
- Old Geezers Of The Park
- Page De Garde D un Cahier De D exercices
- Page De Garde Cahier Journal 2017 2018
- Page De Garde Cahier Des Nombre
- Final Fantasy Versus Xiii Reboot
- Alya Sometimes Hides Her Feelings In Russian Vol 2
- Ha Buk Paeng s Youngest Son
- Page De Garde En Anglais Cahier